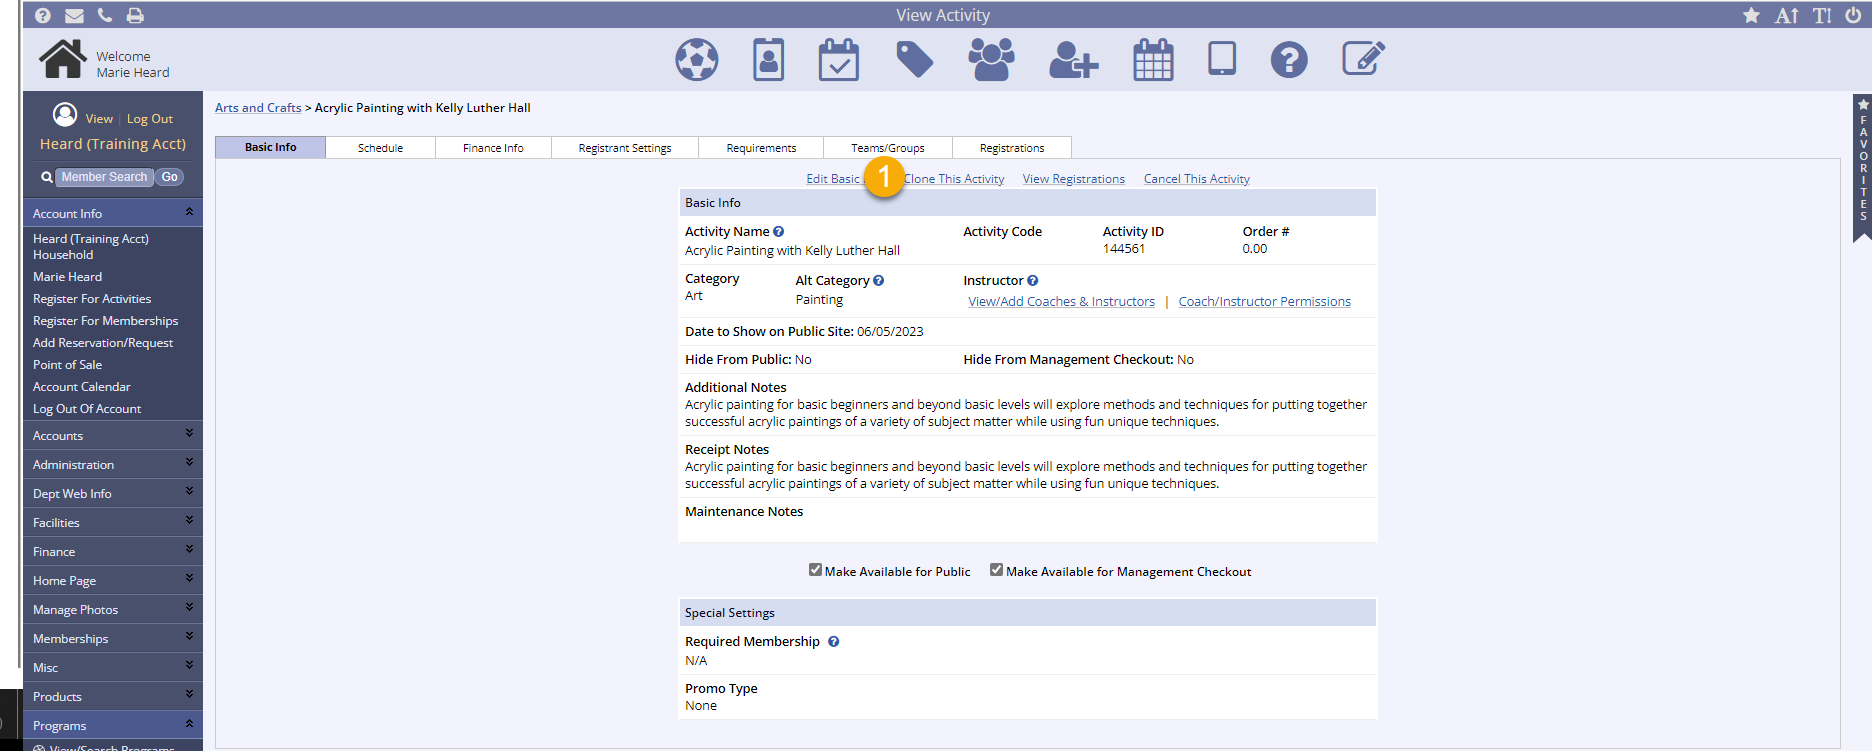
- Open the Activity and click the Clone This Activity link
- After selecting Clone this Activity, you will be brought to a page with several options
- The first group of check boxes allows you to choose what aspects of the original activity you would like to bring over during the cloning process
- The second group of check boxes allows you to advance dates from the original activities
- Check this box if you would like to include dates in your activities, and then select how many years/days to advance them from the old activities dates (you can enter this manually or calculate it using the Calculate Days between Start Dates option)
- If you choose to leave the Include dates and advance all dates by box unchecked, the cloned activities will have no dates and you will have to enter them later in the Schedule tab of the activity by clicking Edit
- The third set of options allows you to specify if you are doing a Complete Clone or one where you Make Additional Changes, so select whichever option applies
- You will be able to edit an activity even if you select Complete Clone
- You can change the activity title, fees, and code in the final set of options or you can change these later within the activity tabs
- After you have made your selections, click Next
- The clone is complete and you can continue to clone as needed
Additional resources on Cloning can be found in our Knowledge Base.

